- tl;dr
- The Goal: An animated logo
- Setting the scene
- Drawing is the same as covering and revealing
- Outlining the animation keyframes
- Creating the animation
- Post Scriptum: Program versions used
tl;dr
You want to create a 2D animation? The free and open source tool Synfig Studio is your friend. The article shows a simple technique to create a path-drawing effect by revealing a shape over time.
The resulting raw logo animation synfig file is available for download and playful use.
The Goal: An animated logo
In this little tutorial, we will create a little animated metamorphant logo:

The potential purposes of such an animated logo are plenty:
- Create a custom animated boot screen for plymouth (in fact that is how this little hack got started and finished over 1 year ago)
- Give waiting a personal touch instead of using canned loading spinners
- Just goof around and have fun with some awesome tools
This article is the first in a series of articles about fun with our ‘phantastic logo.
Setting the scene
Before creating our animation, we need to get our logo into Synfig.
Challenge: InDesign to SVG
Synfig Studio supports importing vector drawings from SVG files.
As most designers, our logo designer Kristaps Kuhalskis uses the proprietary Adobe InDesign. I could not find a way for converting the native .ai files to SVG using only free software. We also received a (potentially lossy) EPS export. Converting from EPS to SVG using Inkscape is a piece of cake, importing into Synfig as well.
We leave the part of getting your path data into Synfig to you. It is not the focus of that article.
A look at the result
After importing the paths into Synfig and a bit of preparation, we end up with a layer stack:
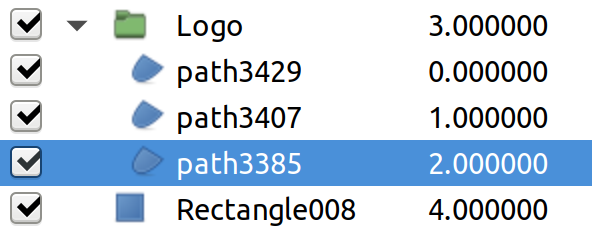
The rectangle is a colored background, the paths correspond to the parts that – for sake of simplicity – I will call hulk, ear and eye. The result looks like this:
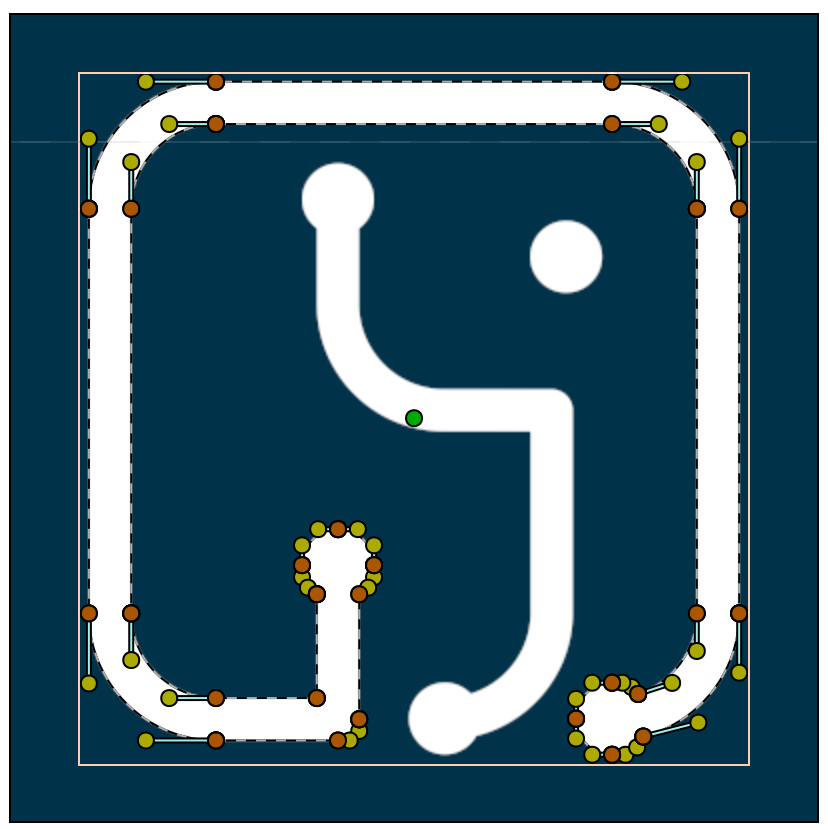
You see that the hulk part is selected. You will notice immediately: this is not a proper path with circles as start and end markers. It is rather the outline path of the corresponding shape. For the animation that poses a problem. While drawing a path using keyframes is simple, drawing a complex shape is not. Keep reading, we will find a solution to that later.
Drawing is the same as covering and revealing
We have seen, that our complex shape is not apt to create a simple drawing animation. We would need a simple path for that purpose. But we are lucky: Our shapes are non-overlapping and spatially well-separated. We can choose a sloppy strategy to achieve the same effect. Instead of drawing a path, we will reveal the shape continuously. That is, we will cover the shape by default and remove the cover piece by piece with each animation step.
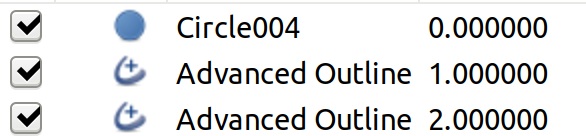
We create our cover lines using Advanced Outline BLine. The eye we will cover with a plain circle. We have a special plan for its animation.
Our result is a layer stack on top of the other layers:
Hiding the other layers, the cover itself looks as follows:
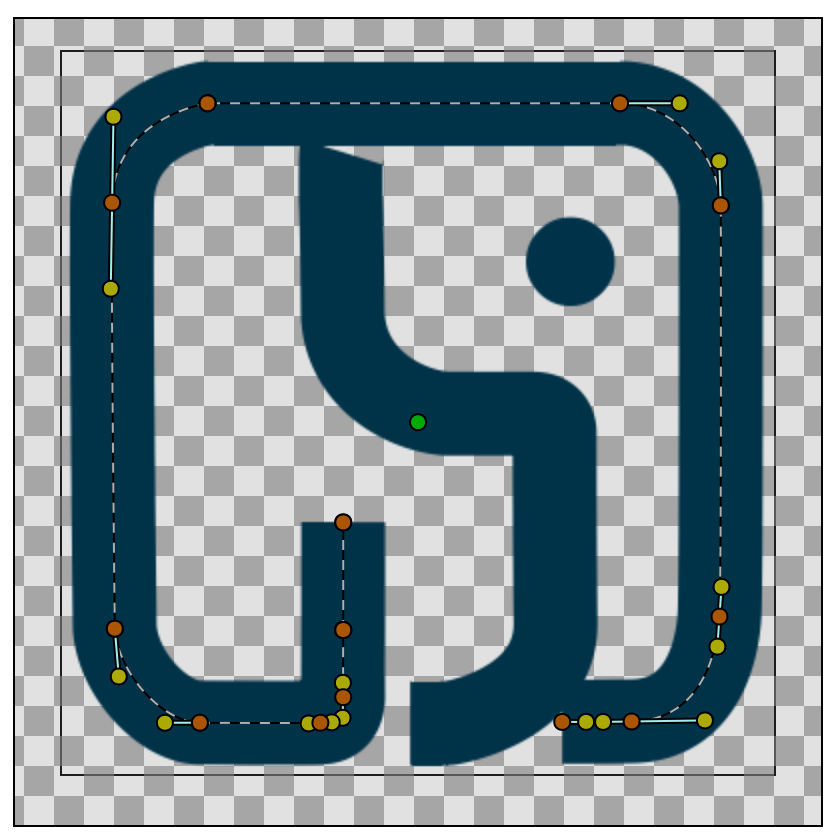
This is a proper path now, perfect for animation.
Outlining the animation keyframes
It is time to enter animation mode:
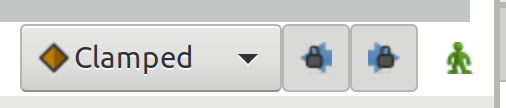
We are in animation mode now:

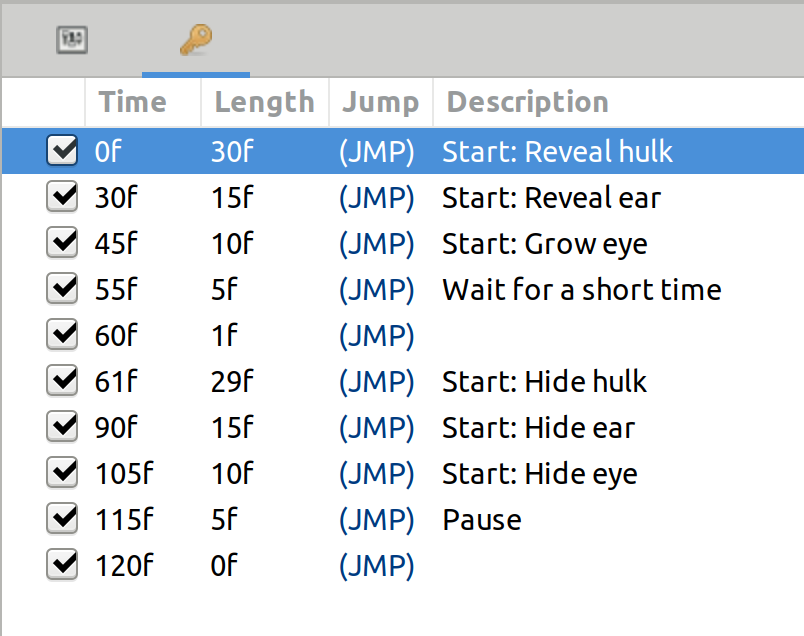
Our next step is to plan the screenplay for our animation. For each section we will need to add keyframes.
Creating the animation
How do you create a drawing animation? As so often, it is a question of the right Google keywords. In Adobe After Effects a similar drawing animation effect seems to be called Write-On. There is an article about creating a Write-On effect with Synfig Studio in the Synfig Wiki.
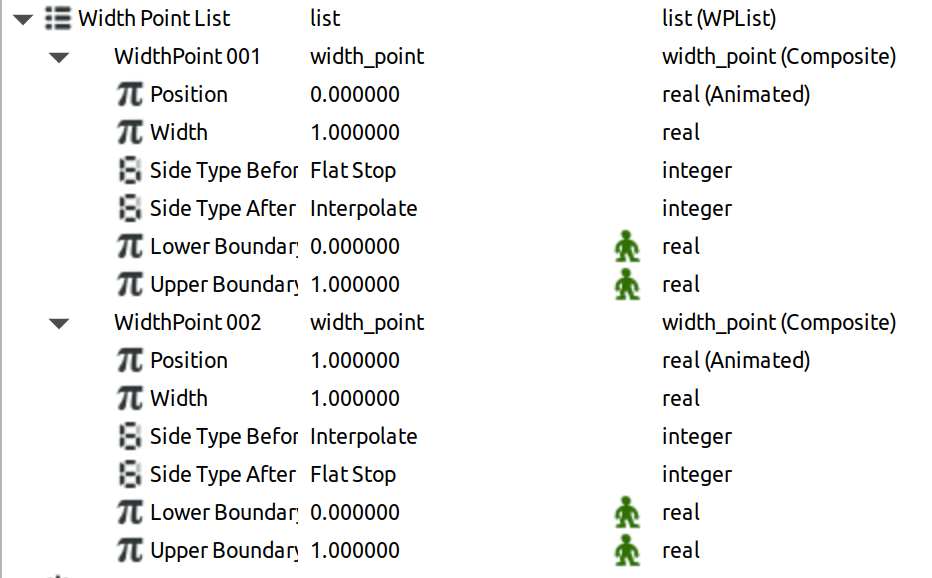
The key feature is to use the offset position of the so-called width points of the path. We show an example of the hulk outline configuration for frame 0 (fully covered):
As compared to the hulk outline configuration for frame 30 (fully revealed):
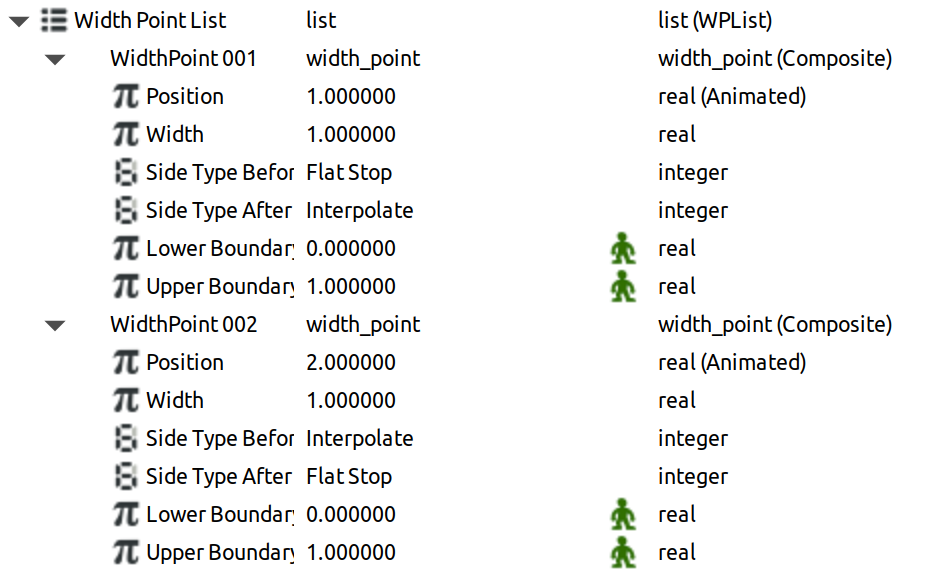
Spot the difference… The interpolation will be done by Synfig’s keyframe magic.
The eye effect
For the eye we chose a different effect: We reveal it by making our cover circle more and more translucent. At the same time we let the eye circle grow.
We will skip it here, as this is fairly standard keyframe animation.
Post Scriptum: Program versions used
All screenshots were created using Synfig Studio version 1.2.1, which comes with Ubuntu 18.04.
Post header background image by David Mark from Pixabay.